
#blog #howto #guide #update
Generate Your 10k NFT Collection in Minutes: Free PFP Maker Guide

Donglee Han
Jan 2, 2024
Donglee Han
Jan 2, 2024
Donglee Han
Jan 2, 2024
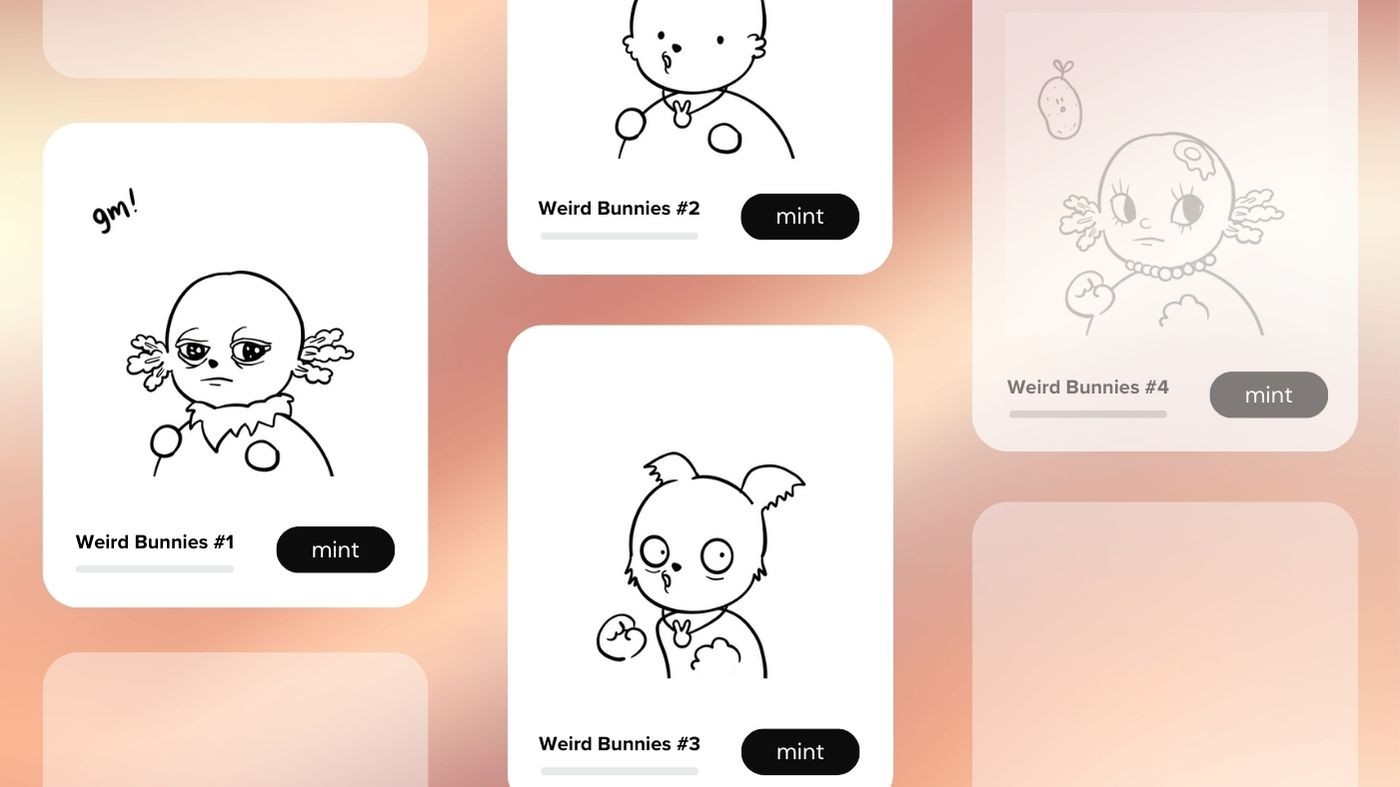
Welcome to our step-by-step guide on effortlessly creating your own 10k NFT collection. In this detailed walkthrough, we'll explore the new NiftyKit NFT Generator Desktop App for creating NFT collections and demonstrate how you can utilize it without any coding background. This guide introduces you to innovative features such as real-time previews and metadata generation, available for both Windows and MacOS users.
Getting Started with Your Artwork
Firstly, let's discuss preparing your artwork. You can use artwork created in Photoshop, Illustrator, or Procreate. As long as your exported file houses all your NFT traits, categorized in different folders like hair, clothes, and eyes. Ensure traits are neatly organized in folders—name folders according to trait categories, with layering order indicated by a preceding number.
Key Points:
Artwork Creation: Many creators use Photoshop, Illustrator, or Procreate for their artwork.
Organization: Ensure all traits are organized in separate folders for easy navigation.
Downloading NiftyKit NFT Generator Desktop App
With your images exported, head over to the NiftyKit NFT Art Generator Download page. After selecting which operating system you use, you can start installing the Mac or Windows desktop app.
Important Steps:
Access Desktop App: Go to Art Generator and download the app.
Import Folder: Select a folder with all your exported layers in the NiftyKit Desktop App.
Adjusting and Previewing Your Collection
After running a few tests, you might notice that the layers need adjustment. You can easily reorganize the layers to ensure they appear correctly. For instance, you can set the color background as the bottom layer, followed by texture and body layers.
Tips:
Layer Sorting: Adjust the layer order to ensure correct trait display.
Preview: Use the 'Preview' function to see how your tokens look with the new sorting.
Managing Rarity and Setting Rules
As an artist, you may want to filter traits to check for desirable combinations. NiftyKit allows you to create rules to prevent specific trait combinations, set blend modes, and set rarity, enhancing your control over the final NFT look.
How to Do It:
Setting Rarity: Control trait appearance frequencies by appending
__rand a numerical value to the trait name, dictating its rarity.Empty Traits: Include transparent PNG files named “None” or “Empty” to allow for the absence of certain traits.
Conditional Groups: Utilize
__gwith a numerical value to ensure that only one trait from a group is selected, preventing incompatible combinations.Blend Modes: Enhance layer interactions with custom blend modes, offering a diverse range of visual effects.
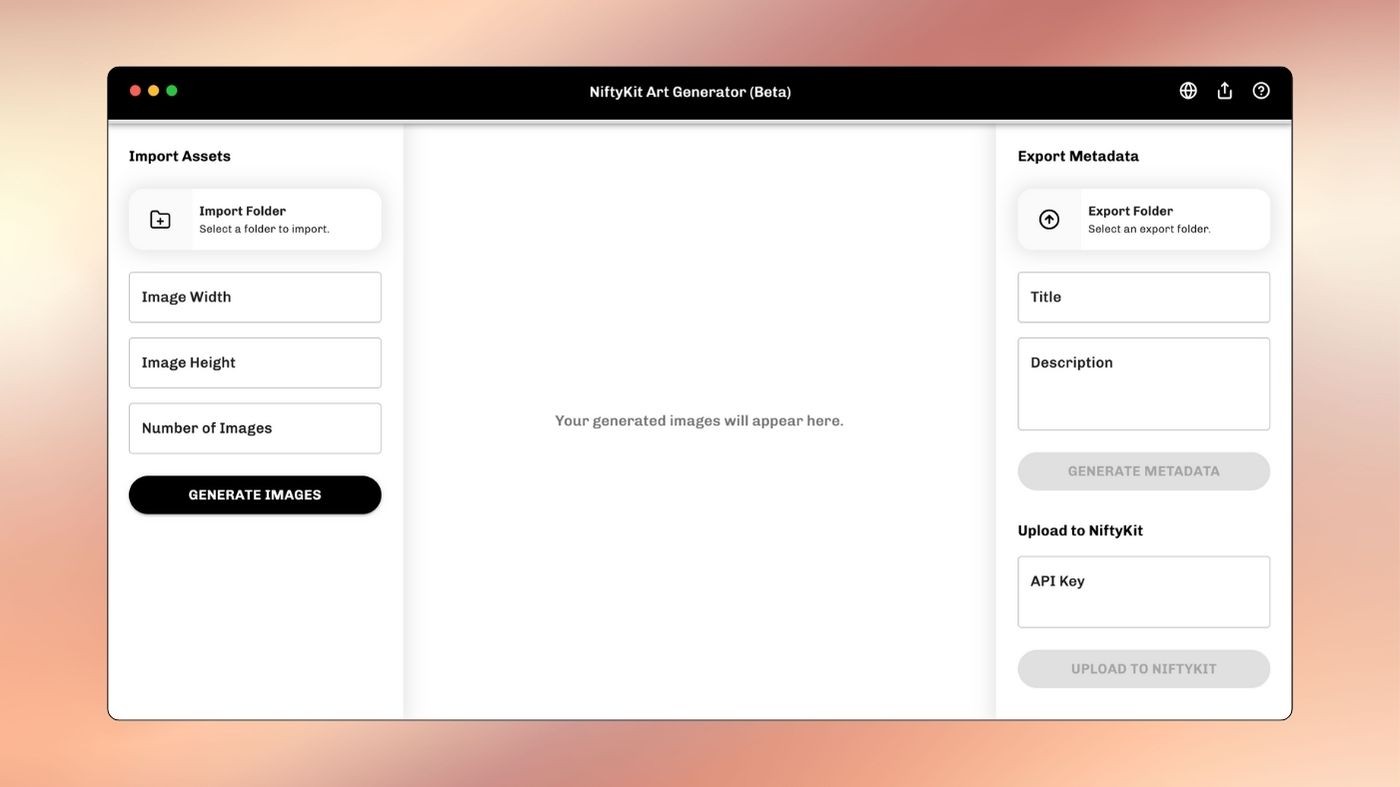
Exporting Your Collection
Once satisfied with your collection, you can export directly to your local folder, IPFS, or to NiftyKit dashboard. NiftyKit offers options to generate from preview or create an entirely new set through our online open generator tool.
Final Steps:
Generate Images: Choose to generate from the preview or create a new set.
Export Metadata and Images: Access your generated tokens, metadata, and images for use.
The NiftyKit team created this tool with one clear goal: to make it easy for creators like you to generate and share your art for free on a platform you can trust. Enjoy seeing your designs come to life without any need for coding. Want to learn more? Check out our easy step-by-step guide. If you're ready to start making your own collection, sign up now!
Download Now
#blog #howto #guide #update
Generate Your 10k NFT Collection in Minutes: Free PFP Maker Guide
Donglee Han
Jan 2, 2024
Donglee Han
Jan 2, 2024
Donglee Han
Jan 2, 2024
Welcome to our step-by-step guide on effortlessly creating your own 10k NFT collection. In this detailed walkthrough, we'll explore the new NiftyKit NFT Generator Desktop App for creating NFT collections and demonstrate how you can utilize it without any coding background. This guide introduces you to innovative features such as real-time previews and metadata generation, available for both Windows and MacOS users.
Getting Started with Your Artwork
Firstly, let's discuss preparing your artwork. You can use artwork created in Photoshop, Illustrator, or Procreate. As long as your exported file houses all your NFT traits, categorized in different folders like hair, clothes, and eyes. Ensure traits are neatly organized in folders—name folders according to trait categories, with layering order indicated by a preceding number.
Key Points:
Artwork Creation: Many creators use Photoshop, Illustrator, or Procreate for their artwork.
Organization: Ensure all traits are organized in separate folders for easy navigation.
Downloading NiftyKit NFT Generator Desktop App
With your images exported, head over to the NiftyKit NFT Art Generator Download page. After selecting which operating system you use, you can start installing the Mac or Windows desktop app.
Important Steps:
Access Desktop App: Go to Art Generator and download the app.
Import Folder: Select a folder with all your exported layers in the NiftyKit Desktop App.
Adjusting and Previewing Your Collection
After running a few tests, you might notice that the layers need adjustment. You can easily reorganize the layers to ensure they appear correctly. For instance, you can set the color background as the bottom layer, followed by texture and body layers.
Tips:
Layer Sorting: Adjust the layer order to ensure correct trait display.
Preview: Use the 'Preview' function to see how your tokens look with the new sorting.
Managing Rarity and Setting Rules
As an artist, you may want to filter traits to check for desirable combinations. NiftyKit allows you to create rules to prevent specific trait combinations, set blend modes, and set rarity, enhancing your control over the final NFT look.
How to Do It:
Setting Rarity: Control trait appearance frequencies by appending
__rand a numerical value to the trait name, dictating its rarity.Empty Traits: Include transparent PNG files named “None” or “Empty” to allow for the absence of certain traits.
Conditional Groups: Utilize
__gwith a numerical value to ensure that only one trait from a group is selected, preventing incompatible combinations.Blend Modes: Enhance layer interactions with custom blend modes, offering a diverse range of visual effects.
Exporting Your Collection
Once satisfied with your collection, you can export directly to your local folder, IPFS, or to NiftyKit dashboard. NiftyKit offers options to generate from preview or create an entirely new set through our online open generator tool.
Final Steps:
Generate Images: Choose to generate from the preview or create a new set.
Export Metadata and Images: Access your generated tokens, metadata, and images for use.
The NiftyKit team created this tool with one clear goal: to make it easy for creators like you to generate and share your art for free on a platform you can trust. Enjoy seeing your designs come to life without any need for coding. Want to learn more? Check out our easy step-by-step guide. If you're ready to start making your own collection, sign up now!